GoPro cameras are becoming increasingly popular among amateur and professional videographers alike. However, one of the most common questions GoPro users have is how to download their videos from the camera to their PC. While there are a few different ways to do this, we will outline the two most popular methods below.
- Connect your GoPro camera to your computer using a USB cable
- On your computer, open the GoPro App and go to ‘Preferences’
- Select ‘MTP Mode’ on the Preferences page and click ‘OK’
- Now, go back to the main page of the GoPro App and click on ‘Media’
- Find the video you want to download from your GoPro camera and select it
- Click on the download icon (the downward arrow) next to the video thumbnail and wait for the download process to complete
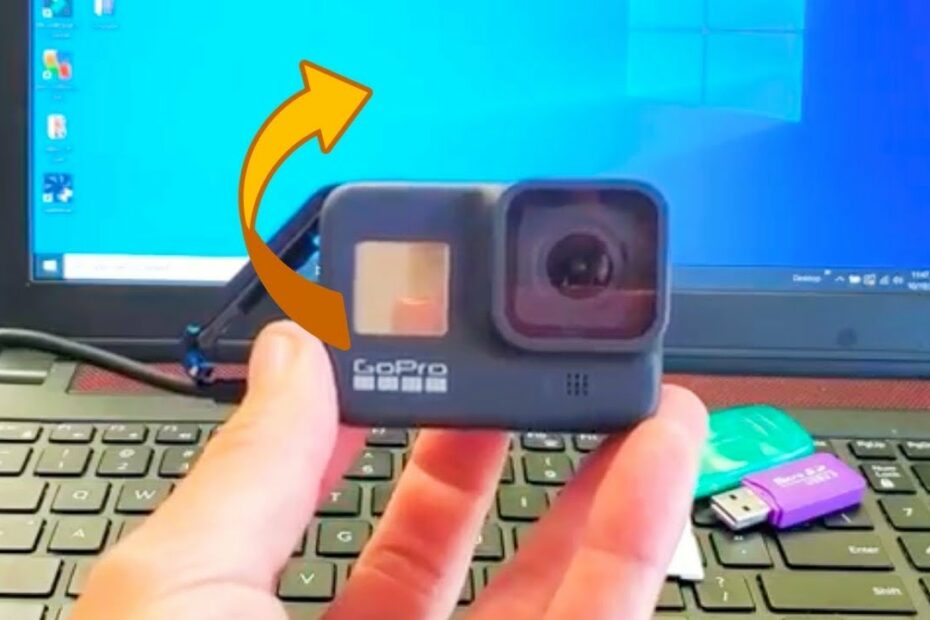
GoPro Hero 9: How to Transfer Photos & Videos to Windows Computer / Laptop
Gopro App for Windows 10
Windows 10 is a great operating system for many things, including GoPro editing. The GoPro App for Windows 10 is an excellent tool for managing your GoPro content. It’s simple to use and makes it easy to keep track of your files.
The GoPro App for Windows 10 allows you to import and manage your content, as well as edit and share it with others. You can also use the app to control your camera remotely, making it easy to take pictures and videos without having to be in the same room as your camera.
The app is free to download from the Windows Store, and it works with all types of GoPro cameras.
If you’re a Windows user and a GoPro owner, then this app is definitely worth checking out.
Gopro App for Desktop
If you’re a fan of GoPro cameras, then you’ll be happy to know that there is a GoPro app for desktop computers. This app makes it easy to transfer your GoPro photos and videos to your computer so you can edit them, share them online, or back them up.
The GoPro app for desktop is available for both Windows and Mac computers, and it’s free to download.
Once you have the app installed, simply connect your GoPro camera to your computer using a USB cable. The app will automatically detect your camera and prompt you to import your photos and videos.
Once imported, you can view your files in the app’s media browser.
From here, you can edit your files or export them to other apps or services. You can also use the GoPro app to create custom video montages or photo slideshows. And if you have a VR headset, you can even view your GoPro content in virtual reality!
So if you’re looking for an easy way to transfer and manage your GoPro content on your computer, be sure to check out the GoPro app for desktop.
Gopro Connect to Pc
GoPro cameras are one of the most popular action cameras on the market. They are small, lightweight, and rugged – perfect for capturing all your outdoor adventures. But what if you want to connect your GoPro to your computer?
Fortunately, connecting your GoPro to your PC is relatively easy. There are two main ways to do it: via USB or Wi-Fi. Let’s take a look at both methods below.
If you want to connect your GoPro to your PC using a USB cable, simply connect the camera to your computer using a micro-USB cable. Once connected, open up the GoPro app (it should automatically detect your camera). From there, you can transfer photos and videos from your camera to your computer.
If you want to connect wirelessly, you’ll need to first enable Wi-Fi on your GoPro (this can be done in the settings menu). Once that’s done, open up the GoPro app and select “Connect.” Your computer should now be able to see the camera’s Wi-Fi network.
Connect to it like you would any other Wi-Fi network and enter the password when prompted (the password is usually “goprohero”). Once connected, you can transfer photos and videos from your GoPro to your computer just like before.
And that’s all there is too it!
Connectingyour GoProtoYour Pcis easy – whetheryou choose togethereVia USB orWi-Fi .
How to Download Gopro Videos to Mac
Are you a GoPro user? Do you want to know how to download GoPro videos to your Mac? If so, then this blog post is for you!
There are two ways that you can download GoPro videos to your Mac. The first way is to use the GoPro Quik app. This app is available for free on the App Store.
Once you have downloaded and installed the app, simply connect your GoPro camera to your Mac using a USB cable. The Quik app will automatically detect your camera and prompt you to import your videos.
The second way to download GoPro videos to your Mac is by using the GoPro Webcam Desktop Utility.
This utility is also available for free on the App Store. Once you have downloaded and installed it, simply connect your GoPro camera to your Mac using a USB cable. The Webcam Utility will launch automatically and prompt you to import your videos.
Once you have imported your videos, they will be saved in either the MP4 or MOV format. You can then view them using any video player on your Mac, such as QuickTime Player or VLC Media Player.
Credit: www.technewstoday.com
How Do I Transfer Videos from My Gopro 10 to My Computer?
Assuming you would like a step by step guide on how to transfer videos from your GoPro Hero 10 to your computer:
1. Make sure that your GoPro is charged and turned on.
2. Plug the USB cable that came with your GoPro into the port on the side of the camera.
3. Plug the other end of the USB cable into an available USB port on your computer.
4. Your computer should automatically recognize the GoPro and open up a dialog box asking what you would like to do with it. Select “Open folder to view files.”
5. A window will open displaying all of the files stored on your GoPro’s SD card.
6a. To transfer all of the files, press Ctrl+A (PC) or Command+A (Mac) to select everything and then click Copy, Paste or Add to Library as desired; OR
6b. To transfer only certain files, use your mouse to click and drag over each file you want to copy/transfer, then click Copy, Paste or Add to Library as desired; OR
6c.
To transfer video footage specifically: hover over AVCHD until two options pop out above it; double-click VIDEO_TS; in this new window that opens up, double-click again on STREAM; now all of your video footage is selected – click Copy, Paste or Add to Library as desired.. Whichever method you choose in Step 6, once complete 7a-7d below apply.
.
7a. If you copied/pasted: a new window will appear showing you the progress of copying these files from your GoPro onto your computer – wait until 100% is completed before closing this window; now go check out where you pasted these files onto your computer!
7b If you added these files to Windows Media Player Library: they will appear under whatever category they fall into within Windows Media Player (e g Music Files, Video Files); simply double-click on any file name to play
7c If using iPhoto (Mac): photos will appear in Events automatically according with when they were taken; videos will appear in Photos automatically according with when they were taken
How Do I Transfer Files from Gopro Quik to Computer?
Assuming you would like a step-by-step guide on how to transfer files from your GoPro Quik application to your computer:
1. Connect your GoPro camera to your computer using the appropriate USB cable.
2. Turn on your camera.
3. Open the GoPro Quik application on your computer.
4. Click “Get media.”
5. Select the photos and/or videos you would like to transfer to your computer and click “Open.”
6. Your selected files will begin transferring from the GoPro Quik app to your computer’s hard drive.
How Do I View My Gopro Videos on My Computer?
Assuming you would like tips on how to view your GoPro videos on a computer:
One way to watch your GoPro videos is to connect your GoPro camera to the computer using a USB cable. Then, open up the GoPro App and click ‘Import.’
Your videos should show up in the app automatically. If they don’t, try clicking ‘Refresh.’
Another way to view your GoPro videos is by taking the SD card out of your camera and inserting it into your computer’s SD card slot.
Once it appears as a drive on your computer, double-click it to open and view the files inside.
How Do I Transfer Videos from My Gopro 9 to My Computer?
Assuming you would like a step by step process on how to download your GoPro videos onto your computer:
1. Connect your GoPro camera to your computer using the USB cable that came with the camera.
2. Turn on your GoPro camera.
3. A pop-up window will appear on your computer screen. If it does not, go to “My Computer” and double-click on the icon for your GoPro camera.
4. Once the pop-up window appears, open the folder labeled “DCIM.”
5. Find the video files you would like to transfer to your computer (they will have .mp4 or .mov extensions) and copy them onto your computer’s hard drive in a location that you can easily find later.
Conclusion
Are you a GoPro user? Do you often find yourself having to transfer your GoPro videos to your computer? If so, this article is for you!
In this post, we’ll show you how to download GoPro videos to your PC in just a few simple steps.
First, connect your GoPro camera to your computer using the included USB cable. Next, open up the GoPro App and sign in with your account information.
Once you’re signed in, click on the “Library” tab at the top of the screen.
Next, locate the video that you want to download and click on the “Download” icon next to it. The video will now begin downloading onto your computer.
Once it’s finished downloading, you can find it in the “My Videos” folder on your hard drive.

